I don't know about you but the Holiday Season seems to be on warp speeeeed this year! I say this because everything I do in connection to it seems like a. I should have done it three weeks ago and b. as I am attempting to complete it, I seem to be in such a hurry that I keep forgetting things or rushing so much that something gets forgotten, spilled, dropped or all of the above...BUT with this years rush came a HaPpY accident!
Rewind to my hubby and I dragging out the Christmas decorations, which have slowly become half of the storage facility, (NOTE TO SELF; clean out storage facility), anyway, because we had so many boxes, our brilliant minds decided to keep a few behind. Unfortunately one of those left behind was all of the left over wrapping paper we keep from year to year, bummer! Now fast forward to me rushing around to get a package wrapped and in the mail to Oregon in time for Christmas, this is where the happy accident happened :)
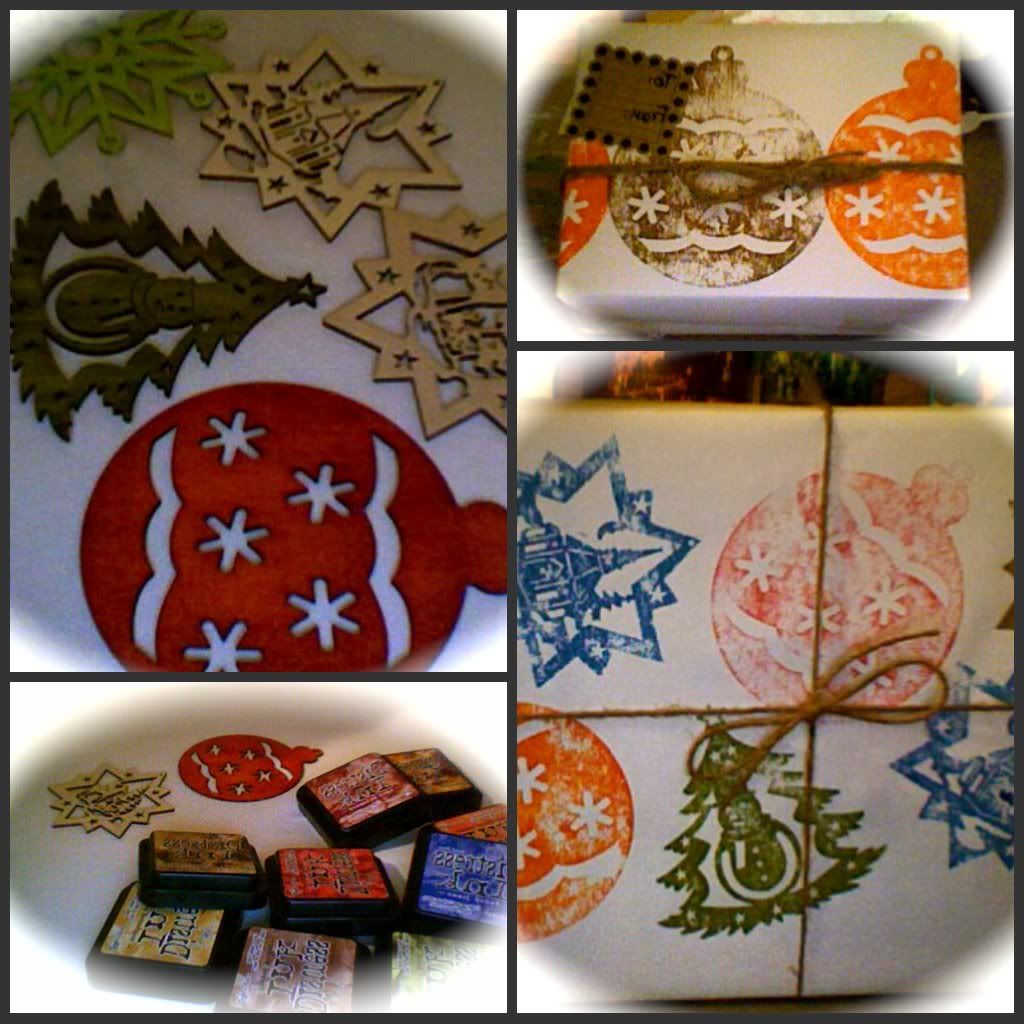
Of course being a crafter (pack-rat) I dug into my stash to see what I could wrap a few presents with. I found some old .99 cent wooden ornaments from Michaels, plain white butcher paper, twine and some fake cranberries. The PLAN, to use a Christmas stamp on the plain butcher paper, tie it with some twine, add the ornament and cranberries and call it a day. The ACCIDENT, I had one box wrapped, twine done and was working on adding the wooden ornament when I decided it needed some color, so I applied distress ink to one side and as I laid it down to dry on some extra butcher paper, it fell over onto the ink side and voilà a HaPpY accident! Because the ornament had a small layer of clear coat on it and the distress inks dry slowly, the ornament worked as a stamp itself and all of a sudden I had a whole new project on my hands :)

The top left corner are the wooden ornaments that I used, as I mentioned Michaels sells them and they are really cheap (.99-$1.99). I think Walmart and Hobby Lobby have them as well. They come with a small amount of clear coat it seems but not enough to stop the ink from eventually seeping into the wood,so you can also color these with ink and add them to a package (which was my original plan) just apply the ink and dab them then keep re-applying until they reach the desired color.
As far as using them as stamps, I do have a few helpful hints if you plan to try it. It is a messy project, so I actually got out some gloves just for the inking part and then took them off before laying it down on the paper to stamp it so I didn't get ink on the paper. The ink stays wet for awhile, which is why it is so awesome for embossing, so you really don't have to rush to get them down. You can ink several at a time then lay them down and stamp them. Another helpful thing I discovered, is both sides work, so you can turn it over and do another color. When I turned it over however, the other side was still inky so as I applied pressure to the paper, I put a paper towel between my hand and the wet side so I could apply pressure and not get a hand full of ink.
Overall it really did make me happy and was fun to play with :)
Now I just need to finish my shopping so I have more to wrap :) Are you done shopping?
Thanks for stopping by!
Kxxx


 (Note to self, Hipstamatic not good for pictures of food, sorry!)
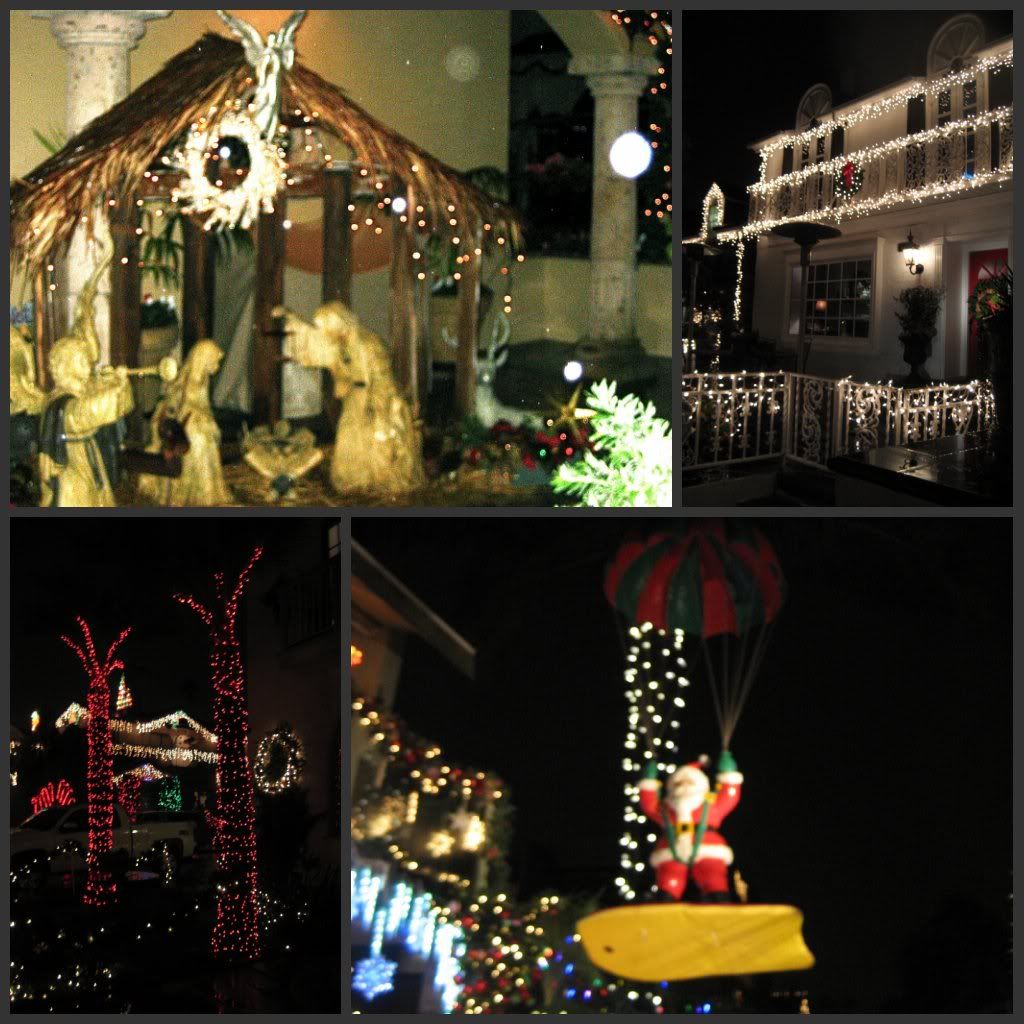
 The outer waterways
 The Canals
 During the day
 During the Annual Boat Parade


 The top left corner are the wooden ornaments that I used, as I mentioned Michaels sells them and they are really cheap (.99-$1.99). I think Walmart and Hobby Lobby have them as well. They come with a small amount of clear coat it seems but not enough to stop the ink from eventually seeping into the wood,so you can also color these with ink and add them to a package (which was my original plan) just apply the ink and dab them then keep re-applying until they reach the desired color.
 This picture initially inspired me to create this one above but I have found I have a hard time creating one of anything :) I used a stencil and acrylic craft paint on canvas, sewn to ivory burlap. The trees have random rhinestones scattered about the tree and some silver trim cording to act as garland.
 This one has a bit of glitter instead of trim.
 And this one I switched it up to gold accented garland and brown pearls. The Believe tag is one of my fav elements. I just stenciled the words on to canvas and then glued it to a piece of ivory felt after cutting it out with pinking shears. I don't love it here on the card but it will definitely be a sample for some gift tags.


 See my Project at The Scrappy Tree.

